
Troubleshooting advanced laptop motherboard failures is a skill that separates the hobbyist from the professional. 🎓
When a laptop presents with “no power,” “no boot,” or intermittent shutdown issues, the problem often defies simple component swapping. 🛑
Unlike desktop motherboards, where components are often modular and easier to access, laptop Printed Circuit Boards (PCBs) are marvels of high-density integration. 🏙️
This density makes diagnosis and repair a specialized field requiring patience and precision. 🔬
Effective troubleshooting here requires more than just a screwdriver; it demands a deep understanding of power delivery systems and signal logic. 🧠
You must understand how electricity flows from the DC jack to the CPU and every component in between. ⚡
It involves component-level diagnostics, often working with parts smaller than a grain of rice. 🍚
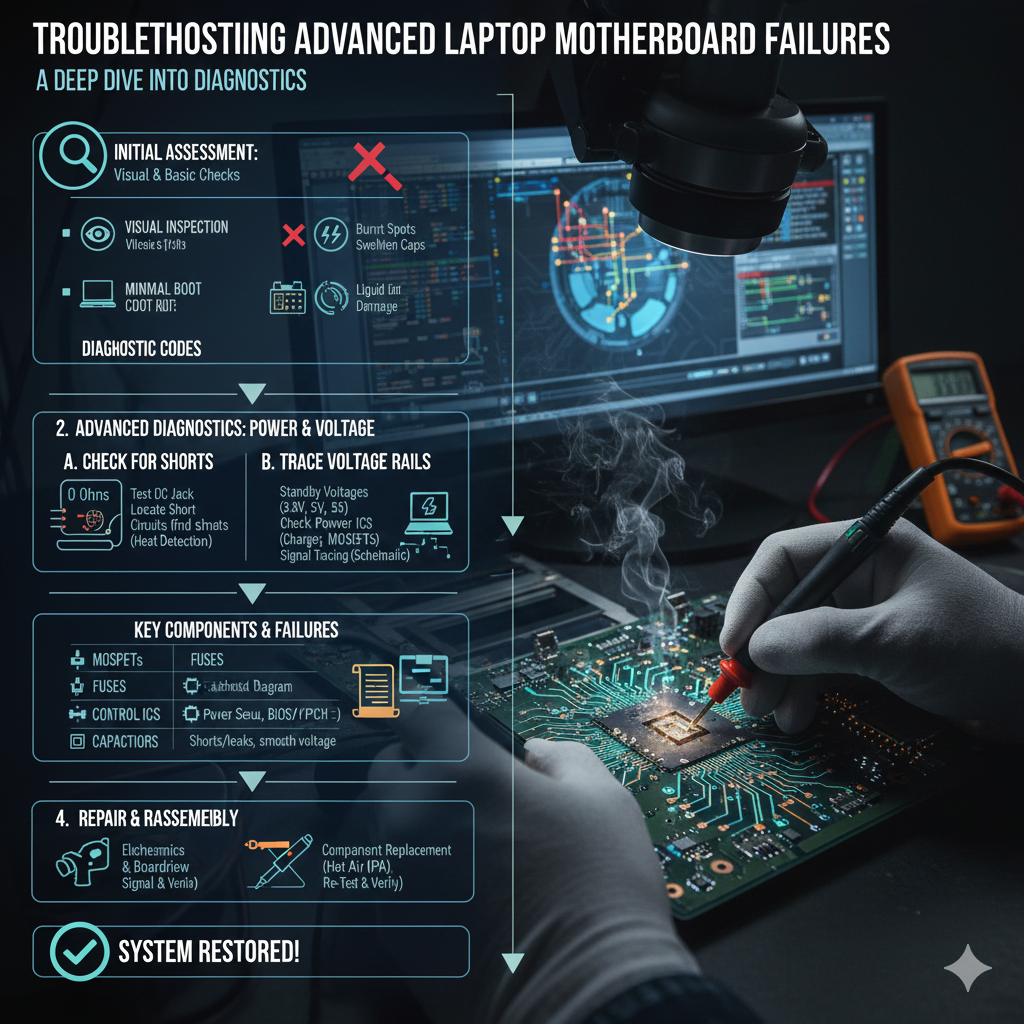
This article outlines a systematic, professional approach to diagnosing these complex faults. 📋
We will move beyond the basics of RAM swapping and dive into voltage rails, short detection, and BIOS integrity. 🚀
I. The Power-On Sequence: A Symphony of Signals 🎵
To fix a motherboard, you must first understand how it wakes up. 🌅
A laptop’s power-on sequence is a complex, choreographed series of events. 💃
Failures rarely happen randomly; they usually occur at specific stages in this sequence. 📉
By identifying which stage fails, you can narrow down the culprit significantly. 🎯
A. Initial Checks and Visual Inspection 👀
Before you even touch a multimeter, your eyes are your best tool. 👁️
Start with the basics of external power verification. 🔌
Verify that your power adapter is supplying the correct voltage and that the DC-in jack on the motherboard is physically intact. 🧱
Next, perform a rigorous visual inspection under magnification. 🔍
Look for the obvious signs of catastrophic failure. 💥
Liquid damage is a primary cause of complex failures and often leaves tell-tale signs like green or white corrosion. 💧
Even a single drop of liquid in the wrong place can bridge connections and destroy sensitive ICs. ☠️
Look for burnt components, particularly MOSFETs near the power input, which often fail spectacularly. 🔥
Bulging capacitors or discolored areas on the PCB are also red flags indicating excessive heat. 🚩
For a deeper understanding of common failure points, check out this article by Lapserve on Top 5 Reasons for your Laptop Motherboard Malfunctions. 🔗
B. The Three Stages of Power Delivery ⚡
Advanced diagnosis focuses heavily on the power rails. Hz
These rails are regulated by complex Power Management Integrated Circuits (PMICs) and orchestrated by the Super I/O (SIO) chip. 🤖
Understanding these three stages is critical for isolating the fault. 👇
| Stage | Description | Key Voltage Rails to Check | Diagnostic Tool |
|---|---|---|---|
| Stage 1: Always-On Power | Power rails that are active as soon as the adapter is connected. | 3V/5V Always-On (LDO): Essential for the SIO chip and BIOS. | Multimeter (DC Voltage Mode) |
| Stage 2: Standby Power | Power rails activated when the power button is pressed, waking the SIO. | VCC_CORE, VCC_GFX: Low-voltage rails for the CPU/GPU standby. | Oscilloscope (for ripple/noise) |
| Stage 3: Main Power | All main power rails are activated, leading to the CPU/PCH receiving power. | VCORE, VRAM, VPP: High-current rails for the main components. | Thermal Camera (to detect shorts) |
II. Component-Level Fault Isolation 🕵️♂️
Once you have identified a missing voltage rail, the real detective work begins. 🕵️♀️
Is the rail missing because the controller is dead, or because there is a short circuit pulling it to ground? 🤔
A. Short Circuit Detection and The “Voltage Injection” Method 💉
Finding a short circuit on a board with thousands of components can feel like finding a needle in a haystack. 🌾
First, use the resistance measurement mode on your multimeter. Ω
With all power removed, measure the resistance to ground on the suspected faulty rail. 📉
A very low resistance (near 0 Ω) confirms a hard short circuit. 🚫
However, telling which component is shorted is impossible with just a multimeter because they are all connected in parallel. 🤷
This is where Voltage Injection (or Current Injection) becomes the technician’s secret weapon. ⚔️
The concept is simple but must be executed with extreme care. ⚠️
You inject a low voltage into the shorted rail using a bench power supply. 🔌
The voltage must be lower than the rail’s operating voltage (e.g., 1V for a 3V rail) to avoid damaging connected chips. 🛡️
You then limit the current (e.g., to 1 or 2 Amps). ⚡
Physics dictates that the current will flow through the path of least resistance—the shorted component. 🌊
This current flow generates heat. 🔥
Using a thermal camera, or even your finger (carefully!), you can find the component that is glowing hot. 🌡️
Common culprits include multilayer ceramic capacitors (MLCCs) which crack and short internally, or power MOSFETs. 🧱
For more discussion on these diagnostic steps, check out this forum thread on Tom’s Guide regarding Motherboard Diagnosis. 🗣️
https://youtu.be/L4dJjMnbDls
B. BIOS and Firmware Corruption 💾
Sometimes, the hardware is physically fine, but the “brain” is confused. 😵
A “no boot” or constant “power cycling” issue without a detectable hardware short often points to the BIOS. 💻
The Basic Input/Output System (BIOS) initiates the hardware. 🚀
If the firmware code in the SPI flash chip is corrupted, the system may power on but fail to initiate the POST (Power-On Self-Test) sequence. 🛑
Diagnosing this involves observing the behavior of the status LEDs or using a POST card. 🚥
The repair requires a specialized tool known as a generic programmer (like an EEPROM programmer). 📠
You must carefully desolder the BIOS chip, read it, erase it, and flash a known good firmware dump onto it. 💾
A successful BIOS flash can instantly bring a seemingly dead laptop back to life. 🌱
If you are new to electronics repair, iFixit’s Laptop Repair hub is an excellent place to start learning the basics before attempting these advanced fixes. 🛠️
C. PCH and CPU Failure: The Heavy Hitters 🏋️
In modern laptops, the Platform Controller Hub (PCH) and the CPU are often integrated into a single BGA (Ball Grid Array) package. 📦
These complex chips can fail due to overheating, manufacturing defects, or power surges. ⚡
Diagnosis is tricky; the system might pass the initial power-on checks (Stage 1 and 2) but hang indefinitely before the display turns on. 🕰️
Measuring the resistance of the data lines going to USB ports can sometimes reveal a dead PCH, as these lines go directly to the silicon. 📏
Repairing this is the highest tier of motherboard repair. 🏆
It requires expensive BGA rework stations to melt the hundreds of tiny solder balls underneath the chip to replace it. 🏗️
This is a highly specialized procedure that is often not economical for older machines. 💸
For detailed technical discussions on BGA rework, specialized forums like EEVblog Repair Forum are invaluable resources. 🌐
https://youtu.be/J63dXXKq0aE
III. Essential Tools for the Advanced Technician 🧰
To perform these repairs, your toolkit needs an upgrade. 🆙
A standard soldering iron is just the beginning. 🌋
You need a high-quality Hot Air Rework Station to safely remove multi-pin ICs and MOSFETs without damaging the pads. 🌬️
A DC Bench Power Supply is non-negotiable for performing voltage injection and monitoring current draw during the boot sequence. 📟
A Digital Microscope is essential for inspecting solder joints that are invisible to the naked eye. 🔬
Finally, a good quality multimeter with fast continuity response makes tracing circuits significantly less frustrating. ⚡
Investing in quality tools pays for itself by preventing accidental damage to customer devices. 💰
For guidance on selecting the right test equipment, Fluke’s educational resources offer professional insights. 📚
Conclusion 🏁
Advanced laptop motherboard troubleshooting is a meticulous, logical process. 🧠
It requires moving from a macro-level visual inspection to micro-level voltage and resistance analysis. 🔎
By systematically checking the power-on sequence and effectively isolating short circuits, technicians can perform component-level repairs. 🛠️
This not only saves the motherboard from being e-waste but is also a highly rewarding technical challenge. ♻️
Whether it is a blown capacitor or a corrupted BIOS, every “dead” laptop tells a story waiting to be decoded. 📖
With the right tools and knowledge, you can be the one to rewrite the ending. ✍️