
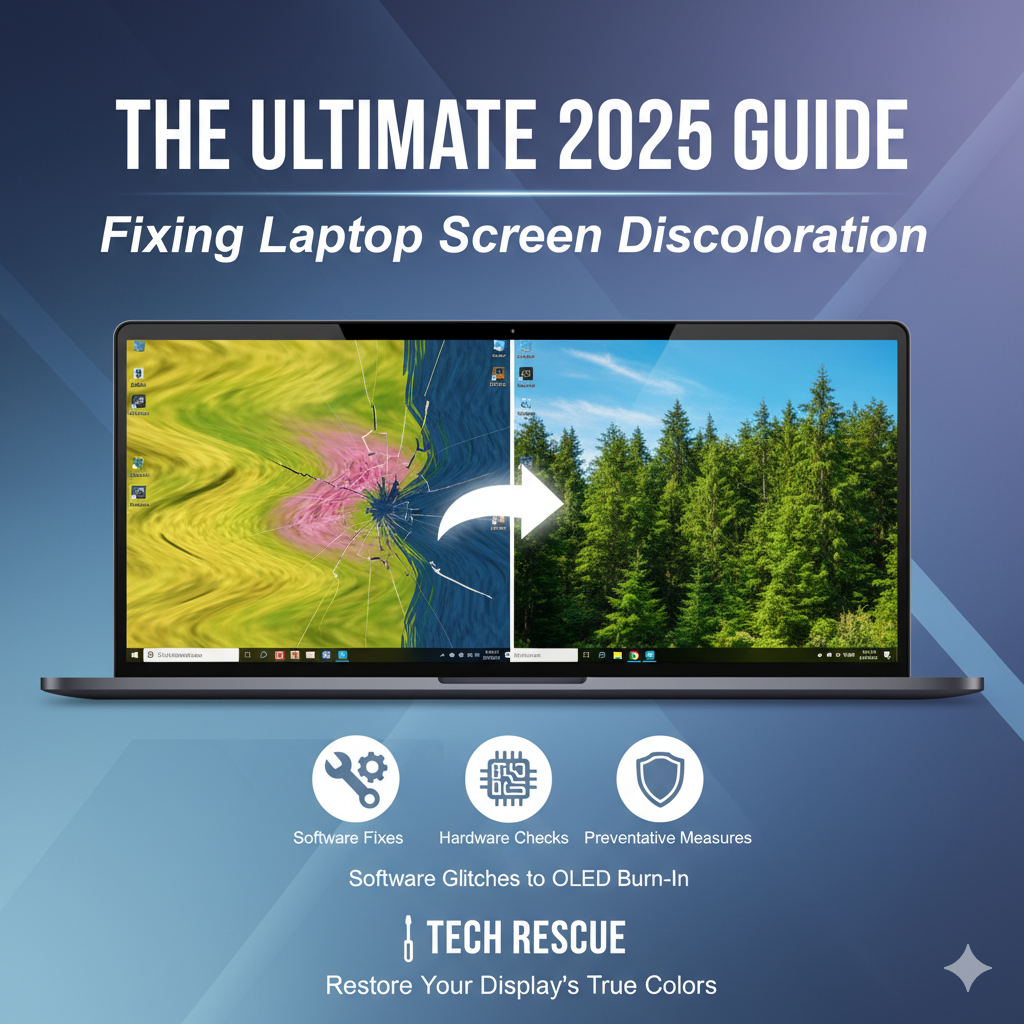
A vibrant, accurate display is the window to your digital world.
When that window starts showing strange colors—a persistent yellow tint, a sickly green hue, or a distracting pink stripe—it can be a frustrating and alarming experience.
Laptop screen discoloration is a common issue, but its causes are diverse, ranging from simple software misconfigurations to serious hardware failures.
In this comprehensive 2025 guide, we will dissect the problem, offering a definitive, step-by-step troubleshooting path that addresses both traditional LCD issues and the latest challenges posed by modern display technologies like OLED and high-refresh-rate panels.
We will help you diagnose the root cause and restore your laptop’s display to its original, brilliant state.
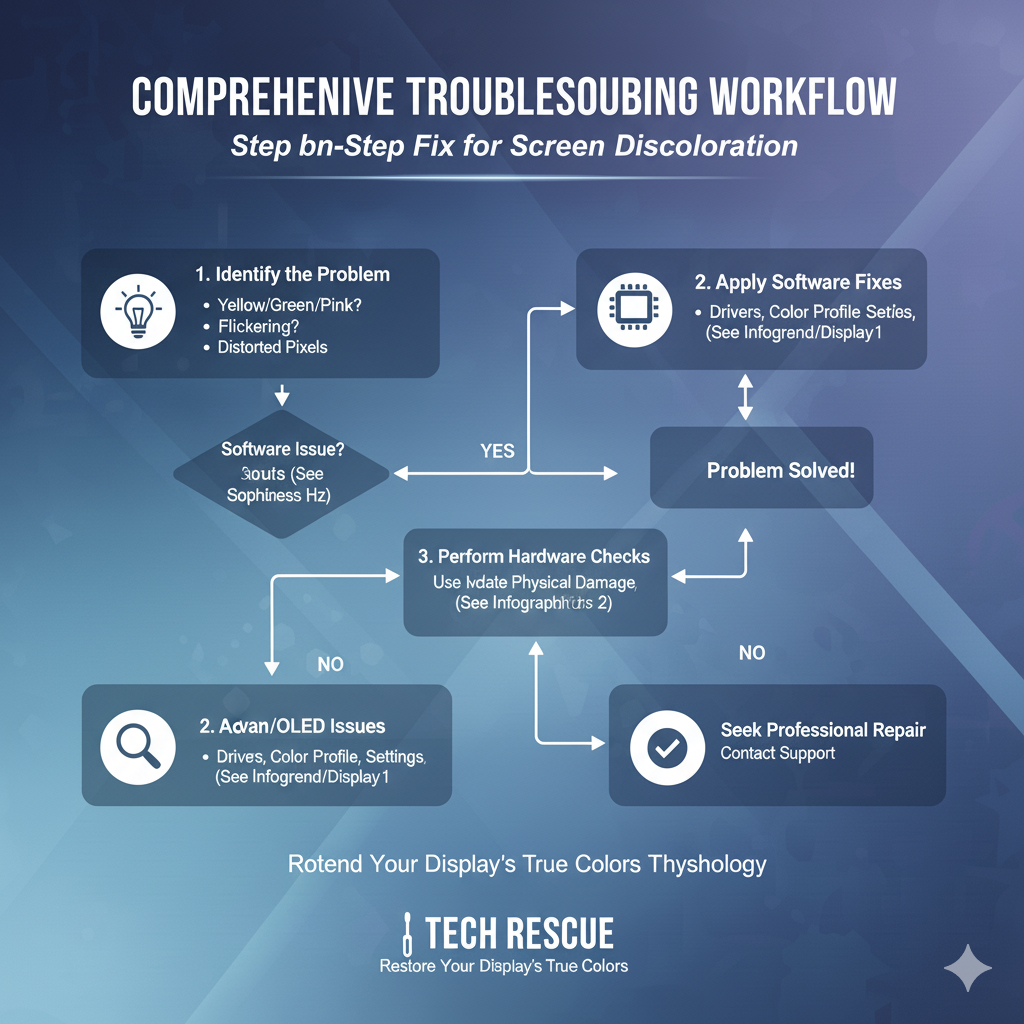
Step 1: The Software Check—The Easiest Fixes First
Before you consider a costly repair or replacement, it is crucial to rule out software-related issues.
Often, a simple setting or an outdated driver is the culprit behind color distortion.
Graphics Driver Updates and Rollbacks
Outdated or corrupted graphics drivers are a leading cause of display anomalies, including flickering, strange colors, and discoloration [1].
Your operating system relies on these drivers to correctly communicate with your dedicated or integrated Graphics Processing Unit (GPU).
To fix this, you should perform a clean installation of the latest driver:
- Identify Your GPU: Determine if you have an NVIDIA, AMD, or Intel GPU.
- Download the Latest Driver: Visit the official manufacturer’s website (NVIDIA, AMD, or Intel) or your laptop manufacturer’s support page (Dell, HP, Lenovo, ASUS) to download the most recent driver package.
- Clean Installation: Use a tool like Display Driver Uninstaller (DDU) to completely remove the old driver before installing the new one.
In rare cases, the newest driver may introduce a bug.
If the discoloration started immediately after an update, try rolling back to a previous, stable version through the Device Manager.
Color Calibration and Profile Management
Incorrect color profiles (ICC profiles) can make your screen appear tinted.
This is particularly common after connecting an external monitor or installing certain software.
Windows Users:
Use the built-in Windows Color Management tool.
Search for “Color Management” in the Start menu, navigate to the “Advanced” tab, and click “Calibrate display.”
Follow the on-screen wizard to adjust gamma, brightness, contrast, and color balance.
You can also try deleting all custom ICC profiles and setting the system default profile.
macOS Users:
Go to System Settings > Displays > Color Profile.
Try selecting a different profile, such as “Display P3” or “sRGB IEC61966-2.1,” and then switch back to the recommended default profile for your specific MacBook model.
Disabling Color-Altering Features
Modern operating systems and third-party applications often include features designed to alter screen color based on time of day or ambient light.
These can sometimes malfunction and cause a permanent tint.
- Night Light (Windows) / Night Shift (macOS): Ensure these features are completely disabled.
- Ambient Light Sensors: Many laptops, including the latest Dell XPS and Apple MacBook models, use ambient light sensors to automatically adjust color temperature. Try disabling the “True Tone” feature on MacBooks or the equivalent “Adaptive Color” setting on Windows machines.
- Third-Party Software: Check for any installed utilities like f.lux or manufacturer-specific display software (e.g., Dell PremierColor, HP Display Control) and temporarily disable or uninstall them.
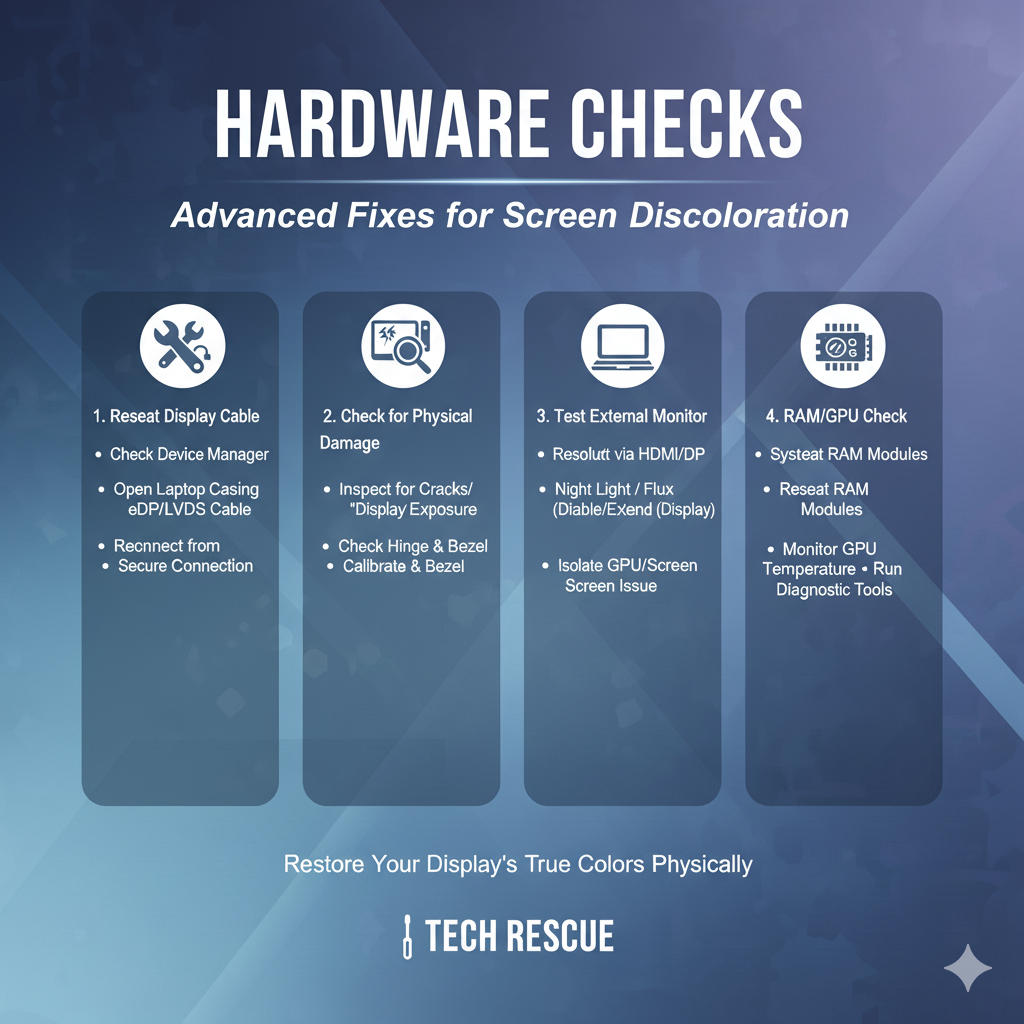
Step 2: The Hardware Investigation—Cables, Connectors, and Components
If software troubleshooting fails, the problem is likely hardware-related.
Hardware issues can manifest as lines, flickering, or large patches of discoloration.
The Display Cable Connection
The most common hardware cause of discoloration is a loose or damaged display cable (often a eDP or LVDS cable) that connects the screen panel to the motherboard.
When this cable is partially disconnected, certain color channels (Red, Green, or Blue) may not transmit correctly, leading to a dominant tint.
Diagnosis:
Gently open and close your laptop lid.
If the discoloration or flickering changes as you move the screen, the display cable is almost certainly the issue.
Fix (Advanced Users Only):
Reseating the display cable requires opening the laptop chassis, which may void your warranty.
If you are comfortable with this, consult your laptop’s service manual (available from the manufacturer’s support site or third-party repair guides like iFixit) for instructions on how to access and firmly reconnect the cable at both the motherboard and the display panel [2].
Testing the GPU and External Display
To isolate whether the issue lies with the screen panel itself or the GPU/motherboard, connect your laptop to an external monitor or TV via HDMI or DisplayPort.
If the external display shows normal colors:
The problem is confined to the laptop’s internal display, the display cable, or the display panel itself.
Proceed with the cable check or prepare for a screen replacement.
If the external display also shows discoloration:
The issue is with the GPU or the motherboard.
This is a more serious problem, often requiring a motherboard replacement or a professional repair of the GPU chip.
Physical Damage and Chemical Contaminants
Discoloration can also be caused by physical stress or environmental factors.
- Pressure Damage: If you see a patch of discoloration that doesn’t change with movement, it may be due to excessive pressure on the screen (e.g., closing the lid on a pen or dropping the laptop). This type of damage is permanent and requires a screen replacement.
- Chemical Leaks: In older or heavily used laptops, internal components like batteries can leak, and the resulting chemical contaminants can cause yellow or brown discoloration on the screen’s internal layers [3].
- This also necessitates a screen replacement and a thorough cleaning of the laptop’s interior.
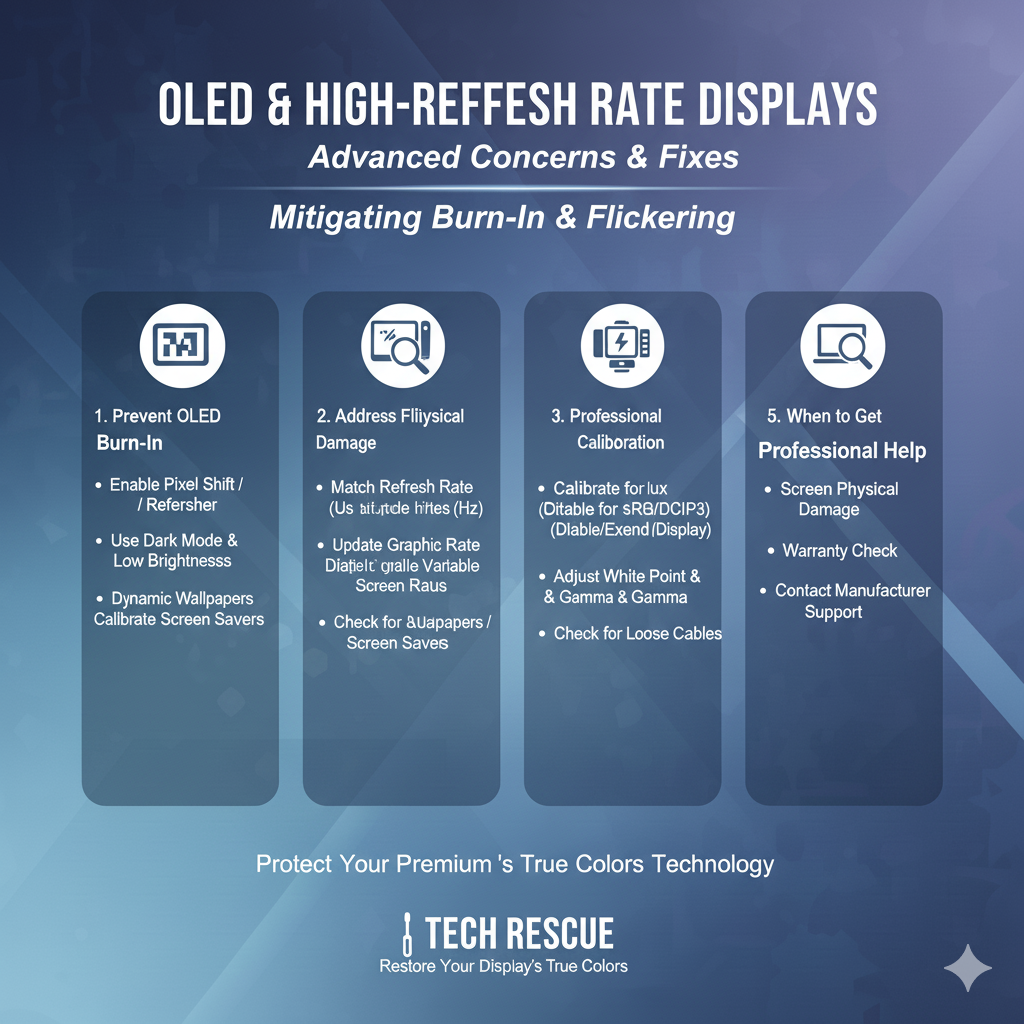
Step 3: Addressing Modern Display Issues—The OLED Challenge
The latest generation of premium laptops, such as the ASUS Zenbook series, Dell XPS 13/16, and certain HP Spectre models, feature stunning OLED (Organic Light-Emitting Diode) displays.
While offering superior contrast and color, OLED panels introduce a unique form of discoloration: burn-in (or image persistence).
Understanding and Preventing OLED Burn-In
OLED burn-in occurs when static elements (like the taskbar, desktop icons, or browser tabs) are displayed for extended periods, causing the organic compounds in those pixels to degrade unevenly [4].
This results in a faint, permanent ghost image.
Modern manufacturers have implemented sophisticated mitigation techniques:
| Mitigation Technique | Description | Example Implementation |
|---|---|---|
| Pixel Shifting | The entire image on the screen is moved by a few pixels at regular intervals, invisible to the user, to prevent static elements from burning a single spot. | ASUS OLED Care, Dell PremierColor software. |
| Pixel Refresh / Panel Refresh | A maintenance cycle that runs when the laptop is asleep or off, refreshing the pixels to equalize wear. | Common on all modern OLED laptops; often runs automatically after a few hours of use. |
| Taskbar Hiding | Software settings that automatically hide the taskbar and desktop icons after a short period of inactivity. | Recommended user setting in Windows and macOS. |
If you suspect burn-in, try running a full-screen video or a solid color for an hour.
Some manufacturers, like ASUS, recommend turning the display off for an extended period (up to a full day) to allow the built-in refresh mechanisms to run [5].
The Green/Pink Tint on New Models
A specific issue reported on some new models, particularly those with high-end OLED panels (e.g., Huawei MateBook X Pro 2024), is a subtle but noticeable green or pink tint, especially at low brightness [6].
This is often a panel quality control issue or a factory calibration error.
If this occurs on a brand-new laptop, the most effective solution is to contact the manufacturer immediately for a warranty replacement, as software fixes are unlikely to correct a fundamental panel defect.
Step 4: Advanced Troubleshooting and Last Resorts
If the above steps have not resolved the discoloration, it is time for more drastic measures.
BIOS/UEFI Check
The Basic Input/Output System (BIOS) or Unified Extensible Firmware Interface (UEFI) is the firmware that runs before the operating system loads.
If the discoloration is visible in the BIOS/UEFI screen, it definitively confirms a hardware issue (screen panel, cable, or GPU) and rules out any operating system or driver conflict.
To access the BIOS/UEFI, restart your laptop and press the designated key (often F2, F10, F12, or Delete) as it boots up.
The Magnet Test (For Older LCDs)
While largely irrelevant for modern LED-backlit LCDs and OLEDs, older Cathode Ray Tube (CRT) monitors and some very old LCDs could suffer from discoloration due to nearby magnetic fields.
If you have a vintage laptop, a strong magnetic source (like unshielded speakers) could cause a color shift.
The fix is simply to move the magnetic source away.
When to Seek Professional Repair or Replacement
After exhausting all software and external hardware checks, you are left with three likely scenarios, all of which require professional intervention or part replacement:
| Symptom | Diagnosis | Solution |
|---|---|---|
| Discoloration is visible in BIOS/UEFI and changes when the lid is moved. | Damaged or loose display cable (eDP/LVDS). | Cable replacement or professional reseating. |
| Discoloration is visible in BIOS/UEFI, does NOT change with lid movement, and external monitor is fine. | Faulty screen panel (LCD or OLED). | Screen panel replacement. |
| Discoloration is visible on BOTH the internal and external displays. | Failing Graphics Processing Unit (GPU) or motherboard component. | Motherboard or GPU repair/replacement. |
If your laptop is still under warranty, do not attempt any internal repairs.
Contact the manufacturer’s support (e.g., Dell SupportAssist, Apple Genius Bar, HP Customer Service) to initiate a repair claim.
Attempting to open the device will likely void your warranty.
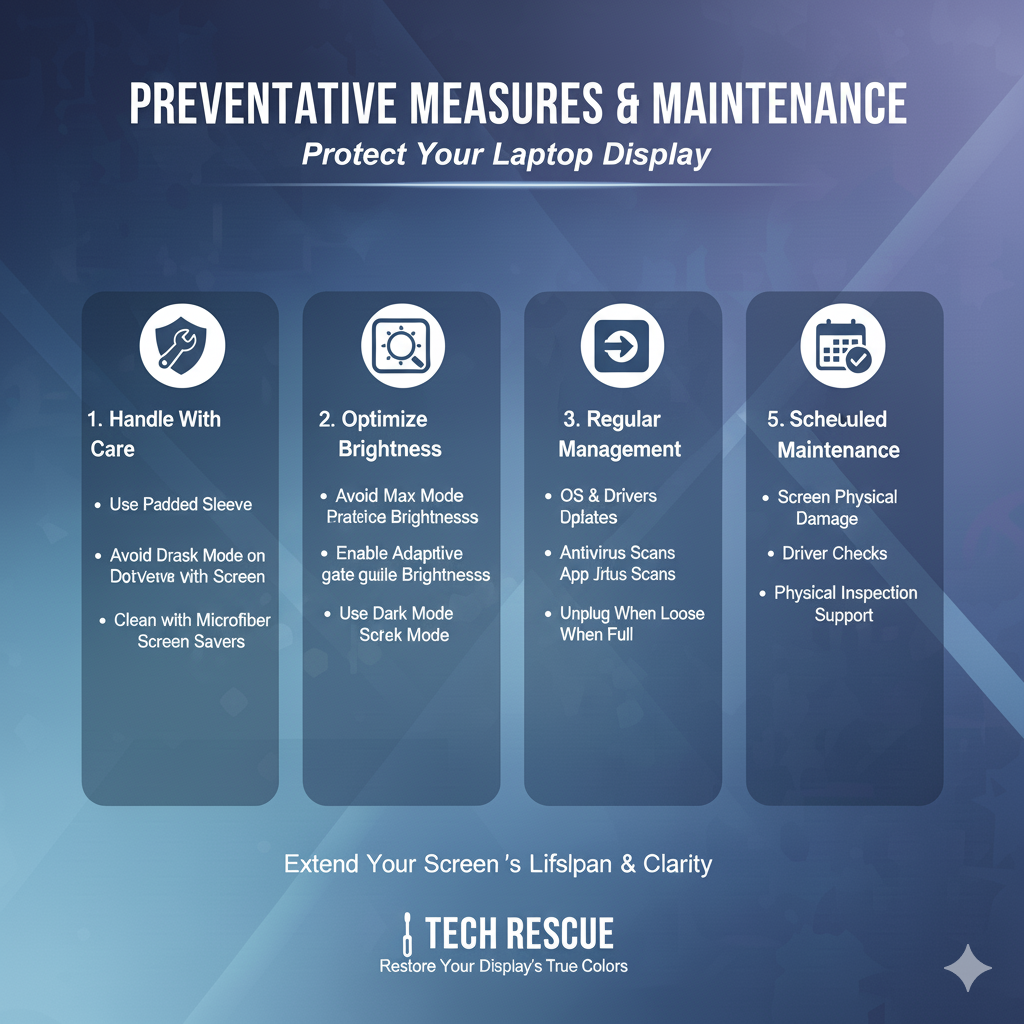
Conclusion: Restoring Your Visual Clarity
Laptop screen discoloration, while disruptive, is often a fixable problem.
By systematically moving from the simplest software checks—updating drivers, adjusting color profiles,
and disabling adaptive color features—to the more complex hardware diagnostics, you can pinpoint the exact cause.
For owners of the latest OLED laptops, understanding and utilizing the built-in burn-in prevention features is key to long-term display health.
Whether you are dealing with a simple driver conflict or a complex cable issue, this guide provides the knowledge to confidently tackle the problem and restore the vibrant, accurate colors your work and entertainment deserve.
References
- [1] Monitor Discoloration – Solutions & Best Practices
- [2] Upgrade the display panel and replace the display cable
- [3] Stains, discoloration, stripes on the screen – how to identify and repair defects in industrial displays
- [4] OLED Burn-In: What You Need to Know for TVs, Phones and More
- [5] [Notebook] OLED Burn-in on screen | Official Support
- [6] Color accuracy issue (green tint) on Huawei MateBook X Pro 2024 OLED