
Hey there, tech enthusiasts and curious minds!
Have you ever wondered what goes on inside those incredibly small devices that power our modern world?
From your smartphone to your smartwatch, and even the complex systems in your car, microelectronics are everywhere.
And just like any other piece of technology, they can break.
That’s where the fascinating, often challenging, and incredibly rewarding world of microelectronic repair comes in.
For years, I’ve been captivated by the precision and patience required to work with components barely visible to the naked eye.
It’s a field that demands a steady hand, a sharp mind, and an insatiable curiosity.
Today, I want to share some insights into what microelectronic repair truly entails, the common issues we face,
the essential tools of the trade, and why it’s such a vital skill in our increasingly connected lives.
Videos are added as random thoughts 💭 💭…
What Exactly is Microelectronic Repair?
At its core, microelectronic repair involves diagnosing and fixing faults in electronic devices at a microscopic level.
We’re not just talking about replacing a screen or a battery here.
We’re delving into the intricate circuitry of printed circuit boards (PCBs), dealing with tiny surface-mount devices (SMDs), integrated circuits (ICs), and other minuscule components.
It’s about bringing dead devices back to life, recovering invaluable data, and extending the lifespan of our beloved gadgets.
Think about it: when your phone takes an unexpected dive into water, or your gaming console suddenly refuses to power on,
the problem often lies deep within its microelectronics.
A tiny short circuit, a corroded trace, or a failed IC can render an entire device useless.
Microelectronic repair specialists are the unsung heroes who meticulously trace these faults and perform delicate operations to restore functionality.
The Common Culprits: Why Microelectronics Fail
Understanding why these tiny components fail is crucial for effective repair.
It’s like being a detective, piecing together clues to solve a complex mystery.
Here are some of the most common reasons I’ve encountered:
1. The Dreaded Liquid Damage
Water and electronics are natural enemies.
Even a tiny amount of moisture can cause corrosion, short circuits, and component failure.
The insidious nature of liquid damage is that it can manifest immediately or slowly over time, as corrosion spreads.
Repairing liquid-damaged devices often involves meticulous cleaning, identifying corroded components, and replacing them.
2. The Impact of Physical Trauma
We’ve all dropped our phones, right? Physical impact can cause a myriad of microelectronic issues.
This includes:
Cracked Solder Joints: The tiny connections holding components to the PCB can crack under stress, leading to intermittent or complete failure.
Damaged Traces: The microscopic pathways on the PCB can be severed, breaking the electrical connection.
BGA (Ball Grid Array) Issues: BGAs are ICs where the connections are tiny solder balls underneath the chip. Impact can dislodge these balls, requiring a complex reballing process.
3. The Silent Killer: Thermal Stress
Heat is a byproduct of electricity, and excessive heat is a major enemy of microelectronics.
Overheating can degrade components over time, leading to premature failure. This can be caused by:
Poor Thermal Management: Inadequate cooling solutions in a device.
Overclocking: Pushing components beyond their designed limits.
Environmental Factors: Operating devices in hot environments.
Thermal stress can lead to component degradation, solder joint fatigue, and even delamination of PCB layers.
4. The Power Surge: Electrical Overstress (EOS)
EOS occurs when a component is subjected to a voltage or current beyond its maximum rating.
This can happen due to faulty power supplies, lightning strikes, or even static discharge.
EOS often results in immediate and catastrophic failure, leaving behind tell-tale signs like burnt components or discolored PCBs.
5. The Wear and Tear of Time: Component Degradation
Like all things, electronic components have a lifespan.
Over time, materials degrade, capacitors dry out, and solder joints can become brittle.
This is particularly true for older devices or those that have been in continuous operation for extended periods.
Diagnosing age-related failures often requires a deep understanding of component characteristics and common failure modes.
6. Manufacturing Defects
While rare in reputable brands, manufacturing defects can sometimes slip through quality control.
These can include poor solder joints, misaligned components, or flaws in the PCB itself.
Identifying these requires keen observation and sometimes specialized diagnostic equipment.
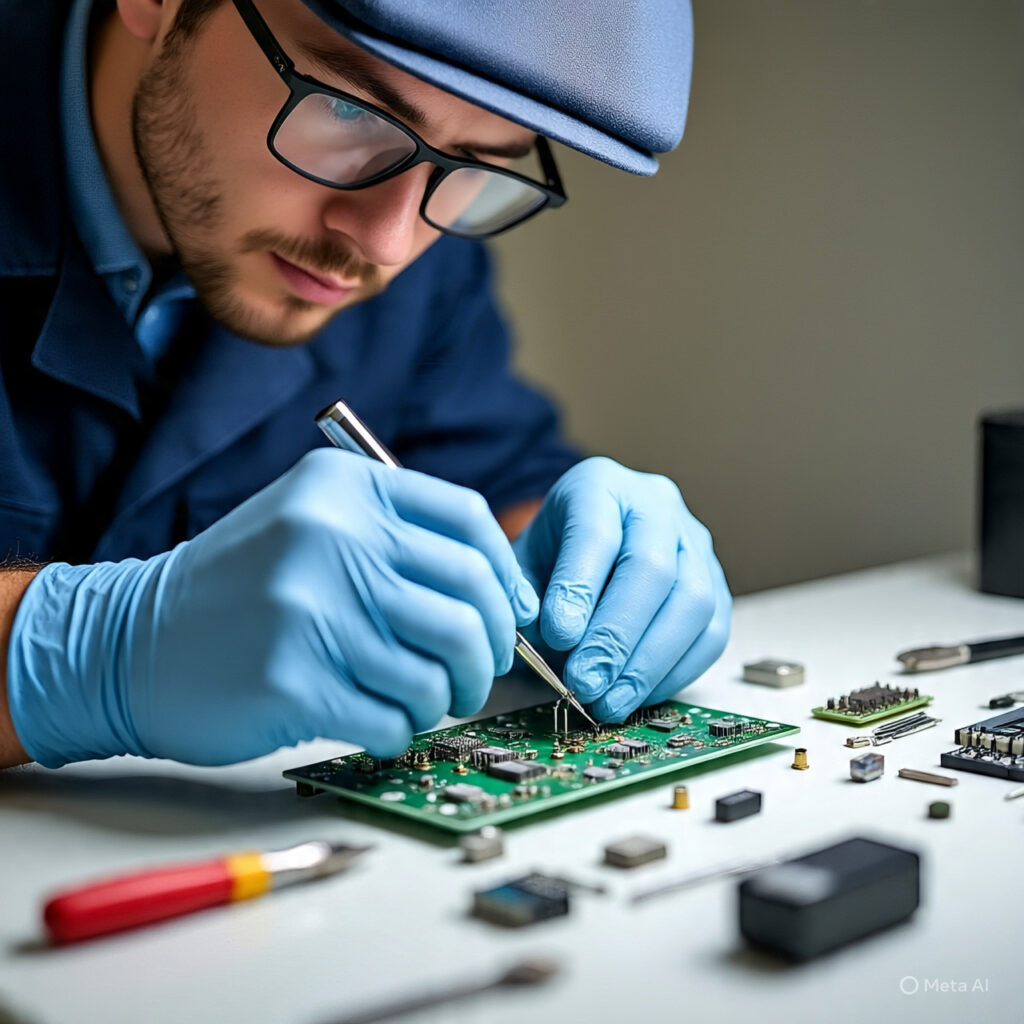
The Arsenal: Essential Tools for Microelectronic Repair
Microelectronic repair isn’t something you can do with a standard screwdriver set.
It requires specialized tools that allow for precision and control at a tiny scale. Here’s a glimpse into my toolkit:
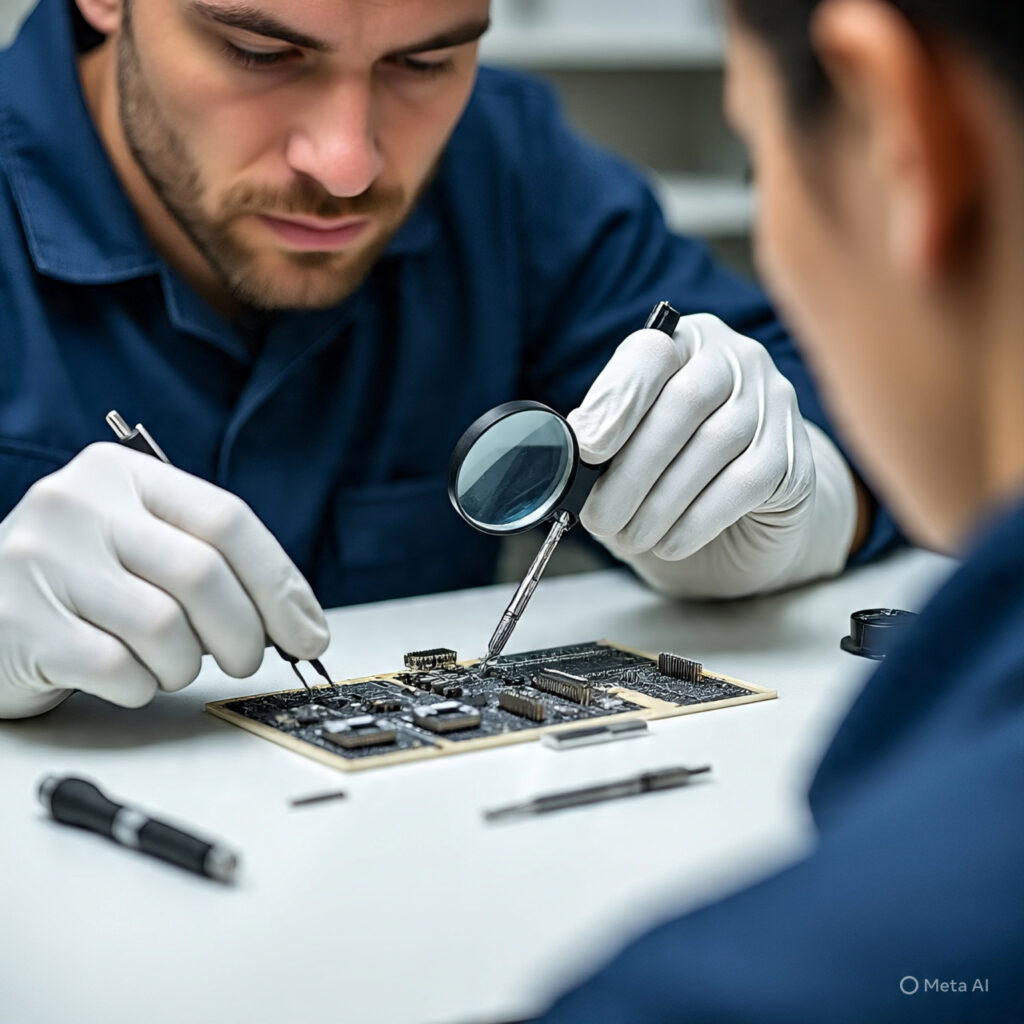
1. The Magnifying Eye: Microscopes and Magnifiers
This is arguably the most crucial tool. You simply cannot work on microelectronics without a way to see what you’re doing.
Stereo microscopes with good working distance are ideal, allowing you to view components in 3D.
For on-the-go repairs, a good quality jeweler’s loupe or a digital microscope connected to a monitor can also be invaluable.
2. The Steady Hand: Soldering and Rework Stations
This is where the magic happens. For microelectronic repair, you’ll need:
Fine-Tip Soldering Iron: For precise soldering and desoldering of small components. Temperature control is essential.
Hot Air Rework Station: Indispensable for removing and replacing SMDs and ICs. Look for one with precise temperature and airflow control.
Preheater: For larger PCBs or sensitive components, a preheater helps to evenly heat the board, reducing thermal stress and making rework easier.
3. The Precision Grip: Tweezers and Probes
Tiny components require tiny tools. A variety of fine-tip tweezers (straight, angled, ceramic) are essential for handling components without damaging them.
Non-conductive probes are also useful for manipulating components or testing connections without causing shorts.
4. The Diagnostic Duo: Multimeter and Oscilloscope
These are your primary diagnostic tools:
Multimeter: For checking continuity, voltage, resistance, and current. Essential for tracing power lines and identifying shorts or open circuits.
Oscilloscope: For visualizing electrical signals. Crucial for diagnosing issues with data lines, clock signals, and other dynamic circuit behaviors.
5. The Chemical Cleaners: Flux and Isopropyl Alcohol
Flux: A chemical agent that cleans metal surfaces and prevents oxidation during soldering, ensuring strong, reliable solder joints.
Isopropyl Alcohol (IPA): High-purity IPA is excellent for cleaning PCBs, removing flux residue, and cleaning up liquid damage.
6. The Consumables: Solder, Solder Paste, and Solder Wick
Solder: High-quality solder, often leaded for easier work at lower temperatures, is a must.
Solder Paste: For reflowing components with a hot air station.
Solder Wick/Braid and Solder Sucker: For removing excess solder or desoldering components.
7. The Safety First: ESD Protection
Electrostatic discharge (ESD) can instantly destroy sensitive microelectronic components.
An ESD-safe workstation, including an ESD mat, wrist strap, and proper grounding, is non-negotiable.
Techniques for the Tiny: Mastering Microelectronic Repair
Beyond the tools, mastering microelectronic repair involves developing specific techniques and a methodical approach.
Here are a few key areas:
1. Diagnostic Prowess
Before you even think about picking up a soldering iron, you need to accurately diagnose the problem. This involves:
Visual Inspection: The first step is always a thorough visual inspection under the microscope. Look for signs of corrosion, burnt components, cracked solder joints, or physical damage.
Schematic Reading: Understanding circuit diagrams is vital for tracing signals and identifying component functions.
Troubleshooting Flowcharts: Many devices have common failure points. Following established troubleshooting flowcharts can save a lot of time.
Thermal Imaging (Advanced): For complex issues, thermal cameras can reveal hot spots on a PCB, indicating a short circuit or a failing component.
2. Precision Soldering and Desoldering
This is where practice truly makes perfect.
Micro-soldering requires a delicate touch and precise temperature control. Techniques include:
Drag Soldering: For soldering multiple pins of an IC quickly and efficiently.
Hot Air Rework: Carefully applying hot air to remove and replace components without damaging surrounding parts.
Reballing BGAs: A highly specialized technique involving removing an old BGA chip, cleaning its pads, applying new solder balls, and reattaching it.
3. Component Identification and Sourcing
Knowing how to identify tiny components (resistors, capacitors, diodes, ICs) and their values is crucial.
Sourcing genuine replacement parts is equally important to ensure the repair is reliable and long-lasting.
4. Data Recovery Considerations
Often, the goal of microelectronic repair isn’t just to fix the device, but to recover data from it.
This adds another layer of complexity and responsibility. Ensuring data integrity throughout the repair process is paramount.
The Future of Microelectronic Repair
As devices become smaller, more integrated, and more complex, the field of microelectronic repair continues to evolve.
New technologies like 3D X-ray inspection, laser soldering, and even robotic repair systems are emerging.
However, the fundamental principles of diagnosis, precision, and a deep understanding of electronics will always remain at the core.
For anyone looking to get into this field, my advice is to start with the basics:
learn soldering, understand circuit theory, and practice, practice, practice on old, non-essential electronics.
The satisfaction of bringing a seemingly dead device back to life is truly unparalleled.
Conclusion
Microelectronic repair is more than just a technical skill;
it’s an art form that combines scientific knowledge with meticulous craftsmanship.
It’s about problem-solving, patience, and a passion for understanding how things work at their most fundamental level.
So, the next time your tiny tech acts up, remember that there’s a whole world of dedicated professionals ready to perform the art of the tiny fix.
And who knows, with the right tools and dedication, that professional could be you!