

Few things are as frustrating as a laptop keyboard where only a few, seemingly random, keys refuse to work.
Unlike a complete keyboard failure, which clearly points to a hardware or driver issue, the failure of isolated keys suggests a more localized problem.
This can range from simple debris lodged under the keycap to a complex break in the keyboard’s internal matrix or a software remapping conflict.
This guide provides a systematic, in-depth approach to diagnosing and fixing the issue of laptop keyboard specific keys not working, ensuring you can restore full functionality without resorting to an external keyboard.
Phase 1: The Physical Inspection and Cleaning
The most common cause of isolated key failure is physical interference.
Before you touch any software settings, you must rule out debris, dirt, or minor physical damage.
This phase is often the most successful and simplest fix.
1. The Debris Check
Power Down
- Turn off your laptop and unplug it from the power source.
- This is a critical safety step before any physical manipulation.
Visual Inspection
- Carefully inspect the area around the non-working key(s).
- Look for crumbs, dust, hair, or any foreign object lodged in the gap.
- Use a flashlight for better visibility.
Compressed Air
- Use a can of compressed air to blast air around and under the keycap.
- Hold the can upright and use short, sharp bursts.
- For best results, hold the laptop at a 75-degree angle (almost vertical) while spraying to allow gravity to help dislodge the debris.
Inverted Shake
- Gently shake the laptop upside down to dislodge any loose particles that may have fallen into the keyboard mechanism.
2. Keycap Removal and Cleaning
If compressed air fails, the debris may be stuck directly under the keycap or on the switch mechanism.
This step requires patience and a delicate touch.
Keycap Removal
- Use a plastic spudger or a thin, non-metallic tool (like a guitar pick) to gently pry the keycap off.
- Start from the edge closest to you.
- Be extremely careful not to damage the plastic clips or the scissor mechanism underneath, as these are fragile.
Mechanism Cleaning
- Once the keycap is off, use a cotton swab lightly dampened with isopropyl alcohol (90% or higher) to clean the area around the switch mechanism.
- Pay close attention to the small rubber dome or the scissor mechanism.
- The alcohol will evaporate quickly, leaving no residue.
Reassembly
- Allow the area to dry completely before snapping the keycap back into place.
- Ensure the scissor mechanism is correctly aligned before pressing the keycap down.
3. Liquid Damage Assessment
If the key failure occurred after a spill, the problem is likely corrosion or a short circuit in the keyboard matrix.
This is the most serious physical cause.
Immediate Action
- If a spill just occurred, immediately power down the laptop, unplug it, and turn it upside down to drain the liquid.
- Do not turn it back on until it has dried completely (48-72 hours).
Localized Corrosion
- If the spill was minor and localized, the corrosion might only affect the specific key’s contact point.
- Cleaning with isopropyl alcohol may resolve the issue, but often, liquid damage requires a full keyboard replacement due to the complexity of the internal circuitry.
https:/youtu.be.com/3qqHG_FspWs
Phase 2: The Software and Driver Diagnostics
If the physical checks yield no results, the problem is likely a software conflict, a corrupted driver, or an incorrect system setting.
This phase focuses on isolating the issue from the operating system level.

4. Test with an External Keyboard
This is the most critical diagnostic step to isolate the problem.
It determines whether the fault lies with the physical keyboard hardware or the software controlling it.
Connect External Keyboard
- Plug in a known-working external USB keyboard.
Test the Keys
- If the specific keys that were failing on the laptop keyboard work perfectly on the external keyboard, the problem is definitively a hardware issue with the laptop’s built-in keyboard.
If External Fails
- If the keys also fail on the external keyboard, the issue is a software problem, such as a keyboard remapping utility, a corrupted driver, or a system-wide accessibility setting.
- Proceed to the next steps.
5. Check for Keyboard Remapping Software
Third-party utilities like AutoHotkey, SharpKeys, or even gaming software can remap keys, causing them to stop functioning as expected.
Identify and Disable
- Check your system tray and startup programs for any keyboard remapping utilities.
- Temporarily disable or uninstall them.
Test in Safe Mode
- As a definitive test, boot into Safe Mode.
- Safe Mode loads only essential drivers.
- If the keys work in Safe Mode, a third-party application is the culprit.
- You can then use the Task Manager to systematically disable startup programs until the conflict is found.
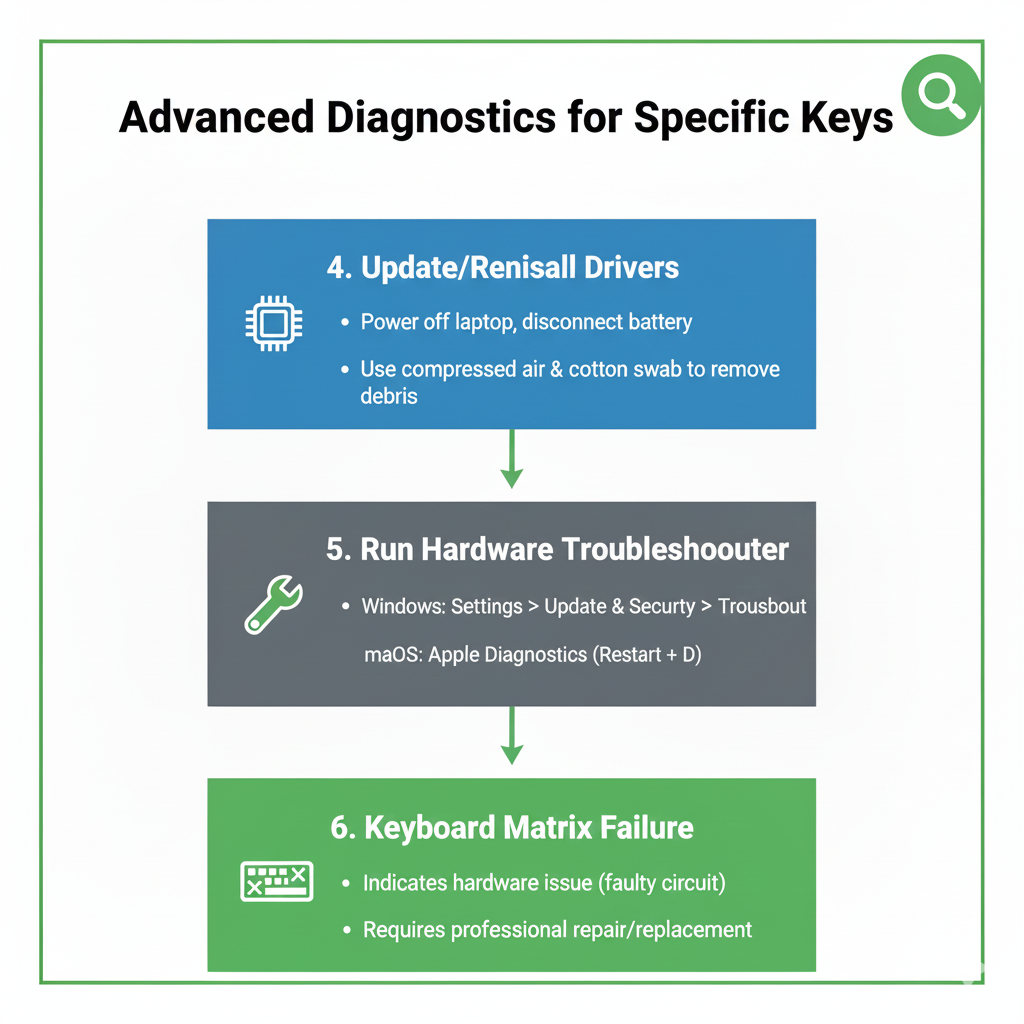
6. Update or Reinstall the Keyboard Driver
A corrupted driver can sometimes cause selective key failure, especially if the keyboard uses a complex matrix.
Device Manager
- Open Device Manager and expand the “Keyboards” section.
Uninstall and Reinstall
- Right-click the keyboard entry and select “Uninstall device.”
- Do not delete the driver software.
- Restart your computer.
- Windows will automatically reinstall the generic driver.
Manufacturer Driver
- If the generic driver doesn’t work, visit your laptop manufacturer’s support site and download the latest keyboard driver specific to your model.
- Installing the correct, proprietary driver is often necessary for full functionality.
7. Accessibility Settings Check
Windows accessibility features, while helpful, can sometimes interfere with normal keyboard operation.
Filter Keys
- Check the “Filter Keys” setting in the Ease of Access Center.
- If enabled, it can ignore brief or repeated keystrokes, making it seem like a key is not working.
- Ensure this is turned off.
Sticky Keys
- While less likely to cause specific key failure, ensure Sticky Keys is also disabled unless you actively use it.
Phase 3: Advanced Hardware Troubleshooting
If all software and cleaning steps fail, and the external keyboard test confirms the fault is with the built-in hardware, the issue is almost certainly a hardware failure that requires either a component replacement or professional service.
8. The Keyboard Ribbon Cable
The laptop keyboard connects to the motherboard via a thin ribbon cable.
Over time, or after internal maintenance, this cable can become partially dislodged or improperly seated.
Warning
- This step requires opening the laptop chassis and should only be performed by users comfortable with internal hardware.
- Proceed at your own risk.
Reseat the Cable
- Carefully open the laptop and locate the keyboard ribbon cable connection on the motherboard.
- Gently disconnect and then firmly reconnect the cable, ensuring it is seated correctly in its socket.
- A partial connection can cause intermittent or selective key failure.
9. Keyboard Matrix Failure
The keyboard is an electrical matrix of rows and columns.
A break in one of the traces (wires) in the matrix will cause all keys in that row or column to fail.
Diagnosis
- If you notice a pattern of non-working keys (e.g., all keys in the ‘QWERTY’ row or the ‘ASDF’ row), it is a classic sign of a matrix failure.
Solution
- A matrix failure is a hardware defect that cannot be fixed with software or cleaning.
- The only reliable solution is to replace the entire keyboard unit.
- This is often a complex repair, and for many modern laptops, the keyboard is integrated into the top case, making the replacement costly.
Conclusion: Pinpointing the Problem
The failure of specific keys on a laptop keyboard is a nuanced problem that demands a methodical approach.
By starting with the simplest physical checks, moving to software diagnostics, and finally, considering advanced hardware issues, you can pinpoint the exact cause.
Whether it’s a crumb, a corrupted driver, or a broken trace in the keyboard matrix, this systematic troubleshooting process empowers you to either fix the problem yourself or confidently determine that a hardware replacement is necessary.
Restoring those few non-working keys is the final step to reclaiming your laptop’s full potential.
| Symptom | Probable Cause | Primary Fix |
|---|---|---|
| Single key is unresponsive | Debris, dirt, or localized liquid damage | Compressed air and keycap cleaning (isopropyl alcohol) |
| Key works on external keyboard, but not built-in | Built-in keyboard hardware issue (matrix or ribbon cable) | Reseat ribbon cable or replace keyboard unit |
| Key fails only in normal mode, works in Safe Mode | Software conflict (remapping utility, gaming software) | Identify and uninstall conflicting software |
| A whole row or column of keys is unresponsive | Keyboard matrix failure (hardware defect) | Replace the entire keyboard unit |