
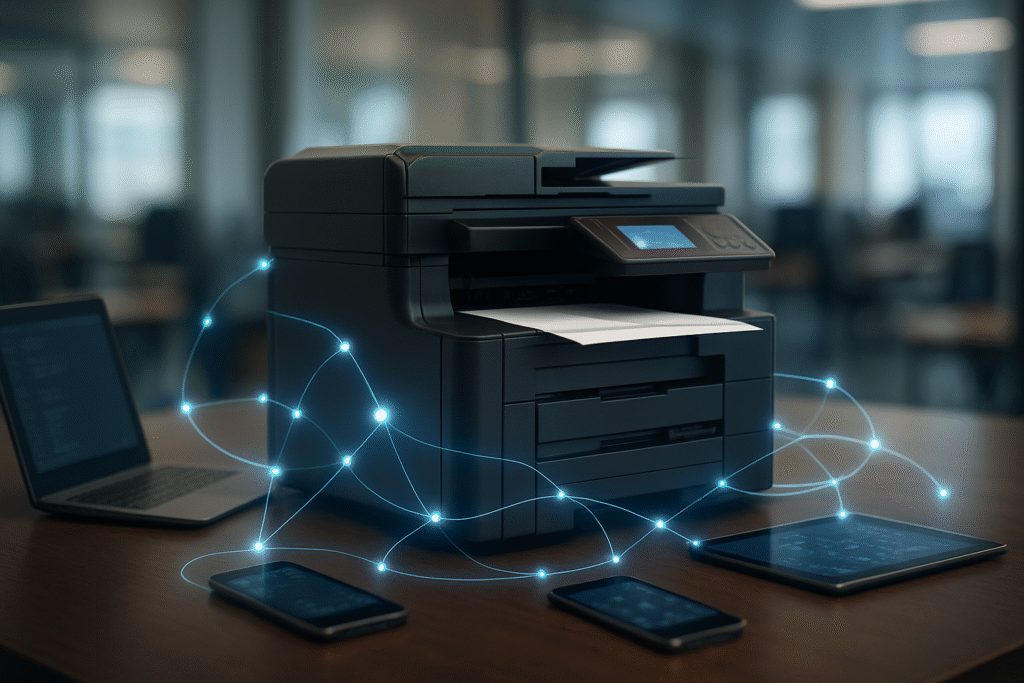
This means any device on your network—laptop, desktop, smartphone, or tablet—can send print jobs.
This flexibility is ideal for multi-user environments, reducing clutter and increasing efficiency.
Many network printers offer advanced features like scanning to network folders, cloud printing, and mobile app integration.
These transform a simple printer into a versatile productivity tool.
Sharing printing resources across a network saves space, reduces hardware costs, and simplifies management, offering a robust and scalable solution for modern digital environments.
Types of Network Printers: Wired vs. Wireless
Network printers come in two main types: wired and wireless. Your choice depends on your specific needs and network infrastructure.

Videos are added as random thoughts 💭 💭 💭.
Wired Network Printers
Wired printers connect to your router via an Ethernet cable.
This connection is stable, fast, and secure, less susceptible to interference.
They are excellent for environments needing consistent, high-volume printing.
Setup involves plugging in the cable, powering on, and installing drivers. While less flexible in placement, wired printers offer reliable performance.
Wireless Network Printers
Wireless printers connect via Wi-Fi, offering significant placement flexibility.
You can put them almost anywhere within your Wi-Fi range, ideal for homes or offices prioritizing convenience.
Setup usually involves a wizard on the printer’s control panel or WPS.
While convenient, wireless connections can be subject to interference, affecting speed or stability.
However, with a strong Wi-Fi signal, they provide a versatile and user-friendly experience.
Preparing for Network Printer Setup: The Checklist
Preparation is key to a smooth setup. Ensure your printer is powered on and has paper and ink/toner.
Locate your printer’s manual for specific instructions.
For wireless setup, you’ll need your Wi-Fi name (SSID) and password.
For wired, ensure you have an Ethernet cable.
Confirm your router is working. Finally, make sure the device you’re using for setup is on the same network as the printer.
This prevents communication issues. With these steps, you’re ready to proceed.
Setting Up Your Network Printer: Windows Guide
Setting up a network printer on Windows is straightforward:
Step 1: Connect the Printer to Your Network
Wireless: Use the printer’s setup wizard to connect to your Wi-Fi network, entering your SSID and password. WPS can also be used.
Wired: Connect an Ethernet cable from the printer to your router. The printer should automatically get an IP address.
Step 2: Add the Printer to Your Windows Device
1. Open Settings: Start > Settings > Bluetooth & devices > Printers & scanners.
2. Add Printer: Click ‘Add a printer or scanner’. Windows will search.
3. Select Printer: Choose your printer if it appears. If not, click ‘The printer that I want isn’t listed’.
4. Manual Add: Select ‘Add a printer using a TCP/IP address or hostname’. Enter the printer’s IP address.
Windows will install drivers.
If prompted, select your model or download drivers from the manufacturer’s website.
Step 3: Install Drivers and Complete Setup
Windows usually handles drivers automatically.
For full functionality, download the complete software package from your printer manufacturer’s website.
Perform a test print to confirm functionality. Your network printer is now ready!
Setting Up Your Network Printer: macOS Guide
Mac users can also easily add network printers:
Step 1: Connect the Printer to Your Network
Connect your printer to your network using its setup wizard for wireless or an Ethernet cable for wired, as described for Windows.
Step 2: Add the Printer to Your macOS Device
1. Open System Settings: Apple menu > System Settings (or System Preferences) > Printers & Scanners.
2. Add Printer: Click the ‘+’ button.
3. Select Printer: macOS will search. Select your printer if it appears in the ‘Default’ tab.
4. Manual Add (if needed):
IP Tab: Enter the printer’s IP address. Choose ‘HP Jetdirect – Socket’ or ‘Line Printer Daemon – LPD’ for Protocol. macOS will usually select the correct driver.
Windows Tab: For shared Windows printers, navigate and select.
Step 3: Complete Setup and Test
Click ‘Add’ to install. Perform a test print from any application (File > Print) to confirm. You’re all set!
Troubleshooting Common Network Printer Issues
Even with preparation, issues can arise. Here are common problems and their solutions:
1. Printer Not Found on Network
Check Power/Connectivity: Ensure printer is on and connected (Ethernet secure, Wi-Fi connected to correct network).
Restart Devices: Restart printer, router, and computer.
Verify IP Address: Print a network configuration page to check IP. If invalid, the printer isn’t getting a proper IP.
Firewall: Temporarily disable your computer’s firewall or add an exception.
Drivers: Uninstall and reinstall drivers from the manufacturer’s website.
2. Print Jobs Stuck in Queue
Restart Print Spooler: In Windows, restart the ‘Print Spooler’ service. On macOS, clear the queue from ‘Printers & Scanners’.
Clear Queue: Delete all pending print jobs.
Check Printer Status: Look for error messages, paper/ink issues, or jams.
3. Slow Printing or Intermittent Connection
Signal Strength (Wireless): Move printer closer to router or use a Wi-Fi extender if signal is weak.
Network Congestion: Consider a wired connection or optimize your network.
Outdated Firmware: Check manufacturer’s website for firmware updates.
4. Unable to Print from Mobile Devices
App Compatibility: Ensure you have the correct mobile printing app.
Network Consistency: Both devices must be on the *same* Wi-Fi network.
Printer Discovery: Check printer settings for ‘Bonjour’ or ‘Wi-Fi Direct’ options.
By systematically troubleshooting, you can resolve most issues and get back to seamless printing.
Conclusion: Printing with Confidence
Setting up a network printer, while seemingly daunting, is manageable and brings immense convenience.
By understanding network basics, preparing, and following these steps, you can achieve a smooth setup.
Even with hiccups, our troubleshooting tips will help you resolve issues.
A properly configured network printer is invaluable, enabling seamless printing from multiple devices.
It enhances productivity, fosters collaboration, and simplifies your digital life.
So, take a deep breath, follow these steps, and enjoy the freedom and flexibility of
a fully integrated network printer. Happy printing!